Post by HR2X on Aug 10, 2006 22:05:34 GMT -5
Welcome to...
First off, we'll start with photo backdrops.. having things such as paint bottles, or other figures in the background tends to distract the person viewing the custom. I always suggest either a setup like I have below or what they call a "seamless backdrop". The seamless backdrop can be made with a long piece of paper all you have to do is let some of it go onto foreground.. (you are making a curvey L shape with it) [note to self: take pics of seamless backdrop]
Anyway, here is my simple way of creating a plain background. First, you take an old sheet or table cloth (preferably one without stains or any designs) and drape it over either a cardboard box or a tool box shown below.
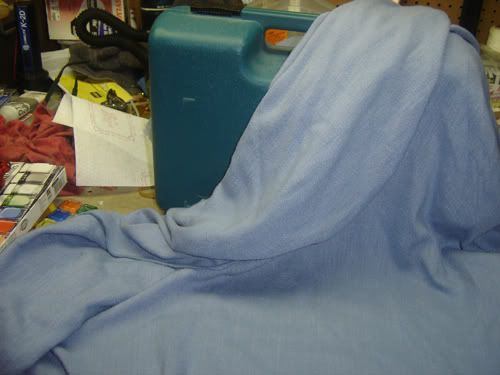
[note: I only put it half way on to show the toolbox below]
Now, lets move on to the tools of the trade.. we'll start with paints. There are a variety of paints you can use, but you must remember to ALWAYS use ACRYLICS on custom action figures. Here are some of the paints I use..
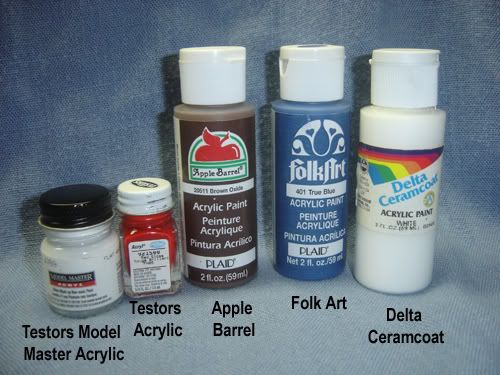
Model Masters are a little more expensive than the Apple Barrel/ Folk Art/ Delta Ceramcoat, but they tend to be a little more durable.
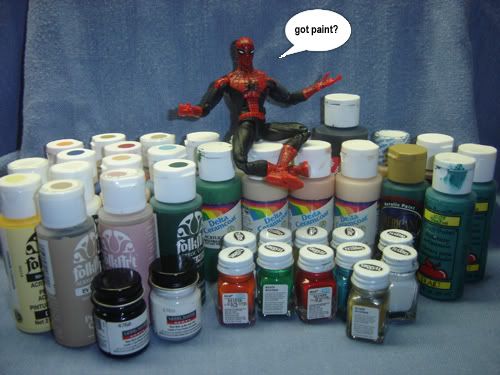
Paint is one of those things that you can never really have enough of. There are so many different hues of each color that you'd never be able to have them all.
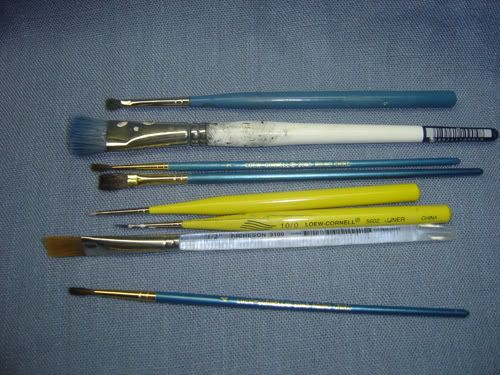
On to brushes.. Personally, I like using the camel hair brushes but in the past, I've used nylon and just about every other type of brush. It's a good idea to make sure that the bristles on the brush are tight and not bent over when you buy the brushes. Out of line bristles become a pain when you are painting details. It's also a good idea to vary your brush sizes this way you have brushes for the big things and brushes for small details. Always remember to clean your brushes. I've lost many brushes because the paint dried on them.
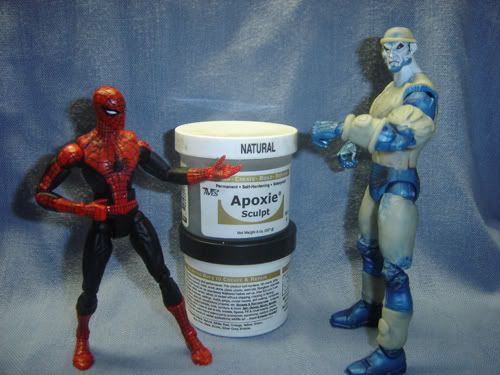
Sculpting is a more complex topic.. this one you really have to experiment with. I use Aves Apoxie Sculpt, but some people may still be using Sculpey III or the equivilent. Here is a proto that I did with Apoxie Sculpt..
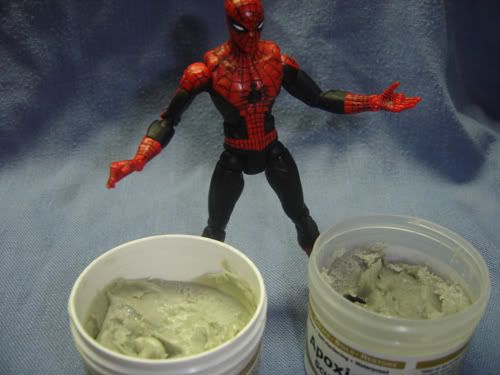
Apoxie Sculpt hardens like a rock in about 5 hours, plus, you get about 2-3 hours to sculpt with it. It's a 2 part mixture [below]. It hardens like an epoxy, but it has the consistency of sculpey. If you are serious about sculpting and you're tired of Sculpey cracking and crumbling than I'd suggest giving this a try. I did it and I haven't gone back to sculpey again. *end salespitch*
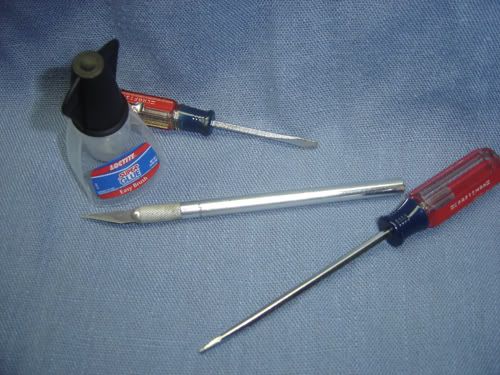
Other tools.. well, these are tools strictly for disassembly and reassembly. With the exception of the Xacto knife and the super glue.. those can be used for sculpting and paint rub respectively.
That's all for now, if you have suggestions for tutorials or just questions on specific products PM me.

First off, we'll start with photo backdrops.. having things such as paint bottles, or other figures in the background tends to distract the person viewing the custom. I always suggest either a setup like I have below or what they call a "seamless backdrop". The seamless backdrop can be made with a long piece of paper all you have to do is let some of it go onto foreground.. (you are making a curvey L shape with it) [note to self: take pics of seamless backdrop]
Anyway, here is my simple way of creating a plain background. First, you take an old sheet or table cloth (preferably one without stains or any designs) and drape it over either a cardboard box or a tool box shown below.

[note: I only put it half way on to show the toolbox below]
Now, lets move on to the tools of the trade.. we'll start with paints. There are a variety of paints you can use, but you must remember to ALWAYS use ACRYLICS on custom action figures. Here are some of the paints I use..

Model Masters are a little more expensive than the Apple Barrel/ Folk Art/ Delta Ceramcoat, but they tend to be a little more durable.
Paint is one of those things that you can never really have enough of. There are so many different hues of each color that you'd never be able to have them all.

On to brushes.. Personally, I like using the camel hair brushes but in the past, I've used nylon and just about every other type of brush. It's a good idea to make sure that the bristles on the brush are tight and not bent over when you buy the brushes. Out of line bristles become a pain when you are painting details. It's also a good idea to vary your brush sizes this way you have brushes for the big things and brushes for small details. Always remember to clean your brushes. I've lost many brushes because the paint dried on them.

Sculpting is a more complex topic.. this one you really have to experiment with. I use Aves Apoxie Sculpt, but some people may still be using Sculpey III or the equivilent. Here is a proto that I did with Apoxie Sculpt..

Apoxie Sculpt hardens like a rock in about 5 hours, plus, you get about 2-3 hours to sculpt with it. It's a 2 part mixture [below]. It hardens like an epoxy, but it has the consistency of sculpey. If you are serious about sculpting and you're tired of Sculpey cracking and crumbling than I'd suggest giving this a try. I did it and I haven't gone back to sculpey again. *end salespitch*

Other tools.. well, these are tools strictly for disassembly and reassembly. With the exception of the Xacto knife and the super glue.. those can be used for sculpting and paint rub respectively.

That's all for now, if you have suggestions for tutorials or just questions on specific products PM me.






+nod+of+approval.gif)


